Store Data Upload Guide
This is a step-by-step walkthrough for adding stores to the Playplanet admin tool. Read once before your first shift; it takes about 5 minutes.
Tip: the app is mobile-first. Add it to your phone's home screen so it opens like a native app — open the site in Safari/Chrome, tap the share icon, then "Add to Home Screen".
1. Sign in
Go to https://ai-support.playplanet.co.kr/login and enter the email and password your admin gave you. Tap Sign in.
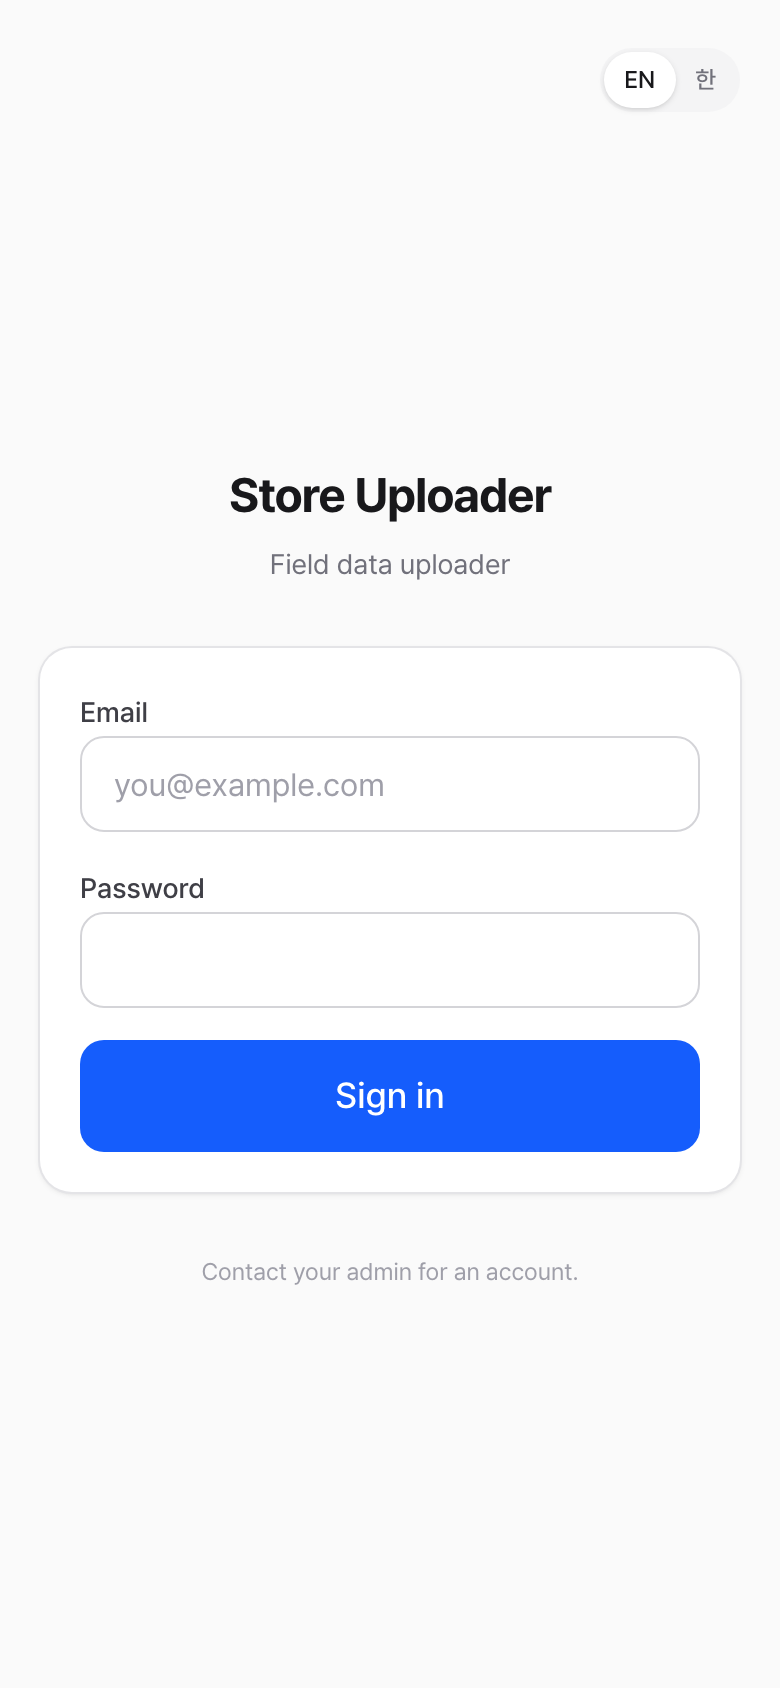
If you get Invalid email or password, double-check spaces or wrong casing. If you forgot the password, ask your admin to reset it from the admin "Account management" page.
2. Your Drafts
After you sign in you land on the Drafts dashboard. This is your personal "in-progress" list.
- Tap a card to continue an unfinished store
- Tap Start new entry to begin a new one
You can have many drafts open at the same time — handy when you're visiting multiple stores in one trip.
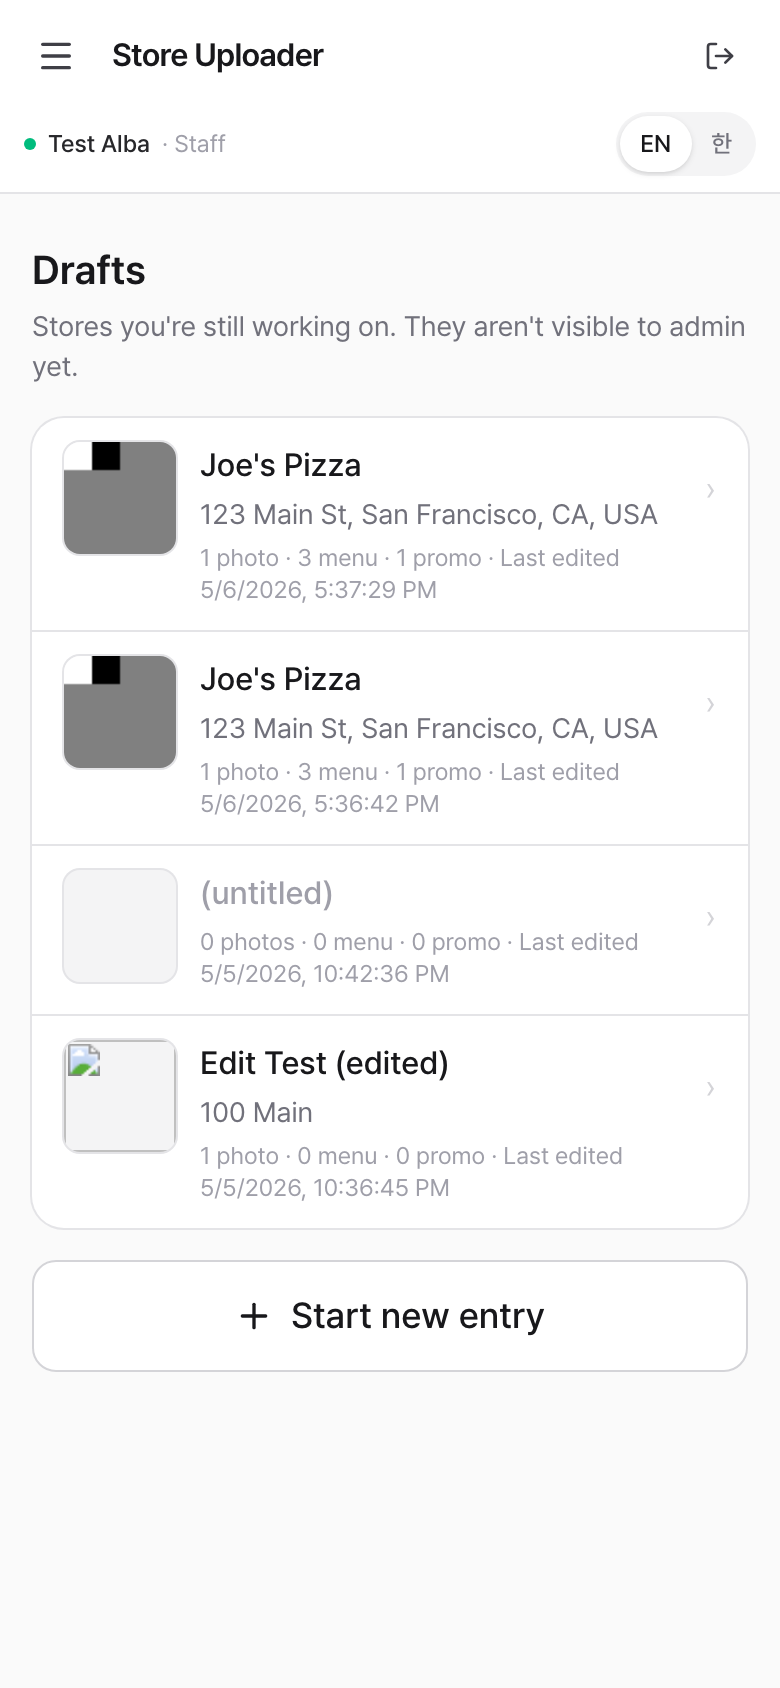
The first time you log in this list will be empty. Tap the big Start new entry button to begin.
3. Step 1 — Store info
| Field | Required? | Notes |
|---|---|---|
| Store name | ✅ | Use the name on the storefront. |
| Address | ✅ | Search by typing (Google Maps), or tap the map directly. |
| Coordinates | ✅ | Set automatically by the search OR by tapping the map. |
| Store description | optional | One or two sentences that help customers understand the place. |
There are two ways to set the location — use whichever is faster where you are.
A. Search by address
- Type the store name (e.g., Joe's Pizza).
- Type the address (e.g., 123 Main St, San Francisco, CA) and tap the magnifying glass. A list of Google Maps matches appears. Pick the closest one — the coordinates fill in and a pin drops on the interactive map below.
- Look at the pin on the map. If it's on the right building, you're done. If it's slightly off (wrong side of the street, neighbor's lot, parking entrance), follow B below to nudge it.
B. Tap the map to fix or set the pin
If the search-result pin isn't quite right, or you don't have an exact address, just tap the correct spot on the map:
- Pinch / scroll to zoom in until you can see the storefront clearly.
- Tap the building roof or the front door.
- The pin moves to the tap point, the coordinates update, and the address field auto-fills with the closest Google Maps address.
Tapping the map always wins. Use it whenever the search isn't pointing at the actual storefront — the coordinates are what customers will navigate to in their map app, so an exact pin matters more than a perfect-looking address string.
Description (optional)
A short blurb that helps customers know what makes this place worth visiting. Examples that work well:
- "Iconic photo spot in SF with colorful Victorian houses, perfect for K-pop fan photos."
- "Cozy K-BBQ in Koreatown known for its banchan."
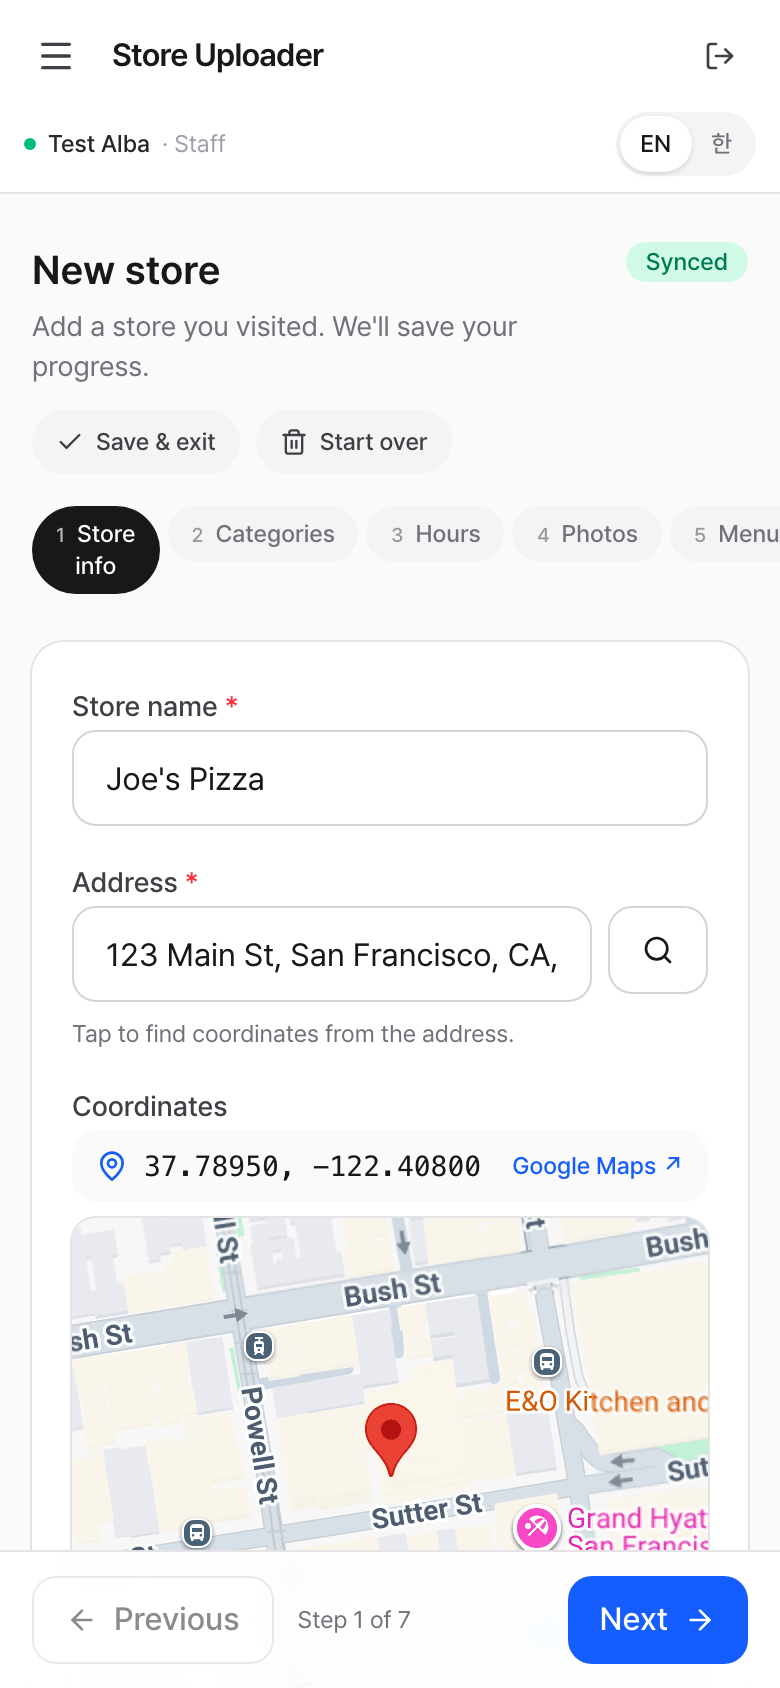
The header shows a green Synced pill when your typing is saved. If you go offline (no signal), it turns red — keep typing, it syncs the moment you reconnect.
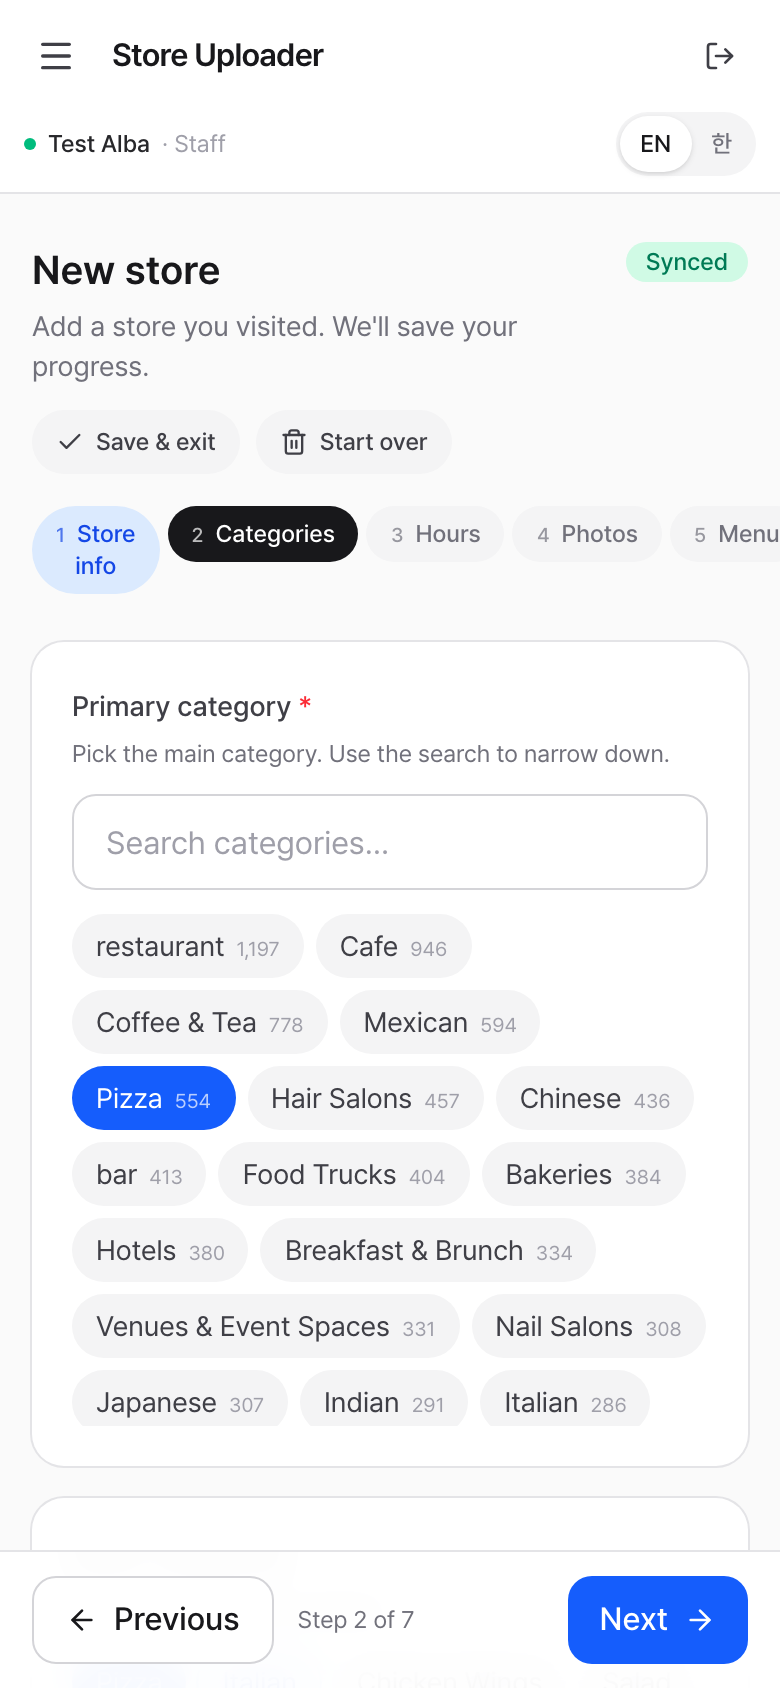
4. Step 2 — Categories
Pick one primary category (the main label customers would use to describe the place). Use the search field to narrow the list — for example, type "korean" to find Korean Restaurant.
After picking the primary, sub-category chips appear. Tap any that also apply. The primary stays highlighted in blue.
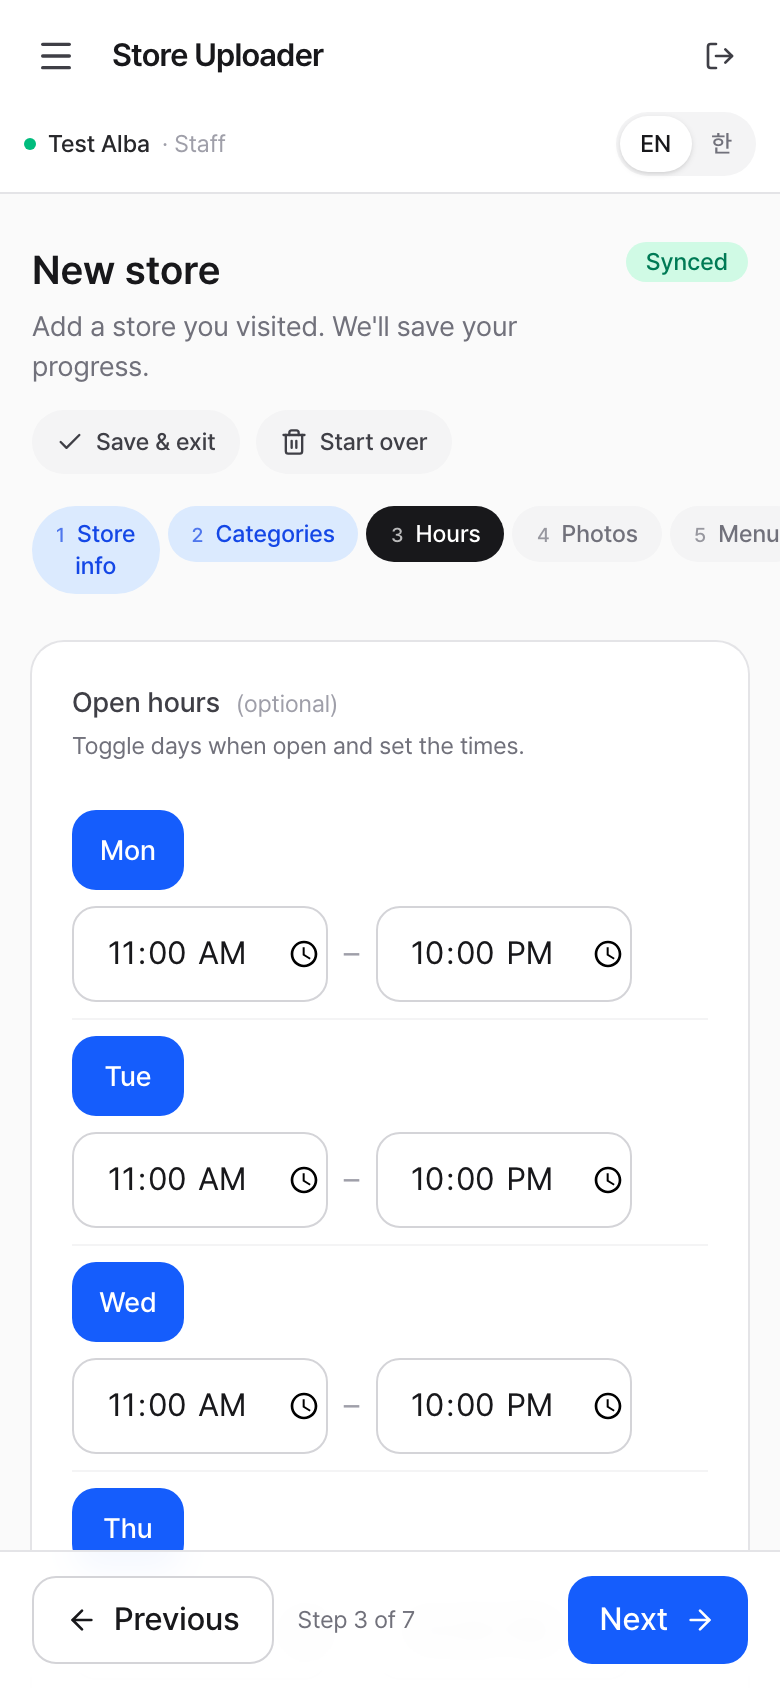
5. Step 3 — Hours (optional)
Tap a day to toggle "open / closed". Set the open and close time.
Tip: the Copy to all open days button reuses the first day's hours across every open day — fastest if Mon–Fri share the same schedule.
If you don't know the hours, skip the step. The admin can add them later.
6. Step 4 — Photos (required)
You must upload at least one photo before submitting.
- Take photo opens the camera (mobile only)
- Upload photos picks one or more from your gallery
Aim for these shots, in this order of priority:
- Storefront — clear front view with the sign visible
- Interior — show the seating / atmosphere
- Menu board — readable so the admin can verify item names
- Signature dish — close-up
Photos upload immediately. To remove a bad shot, tap the trash icon on its thumbnail.
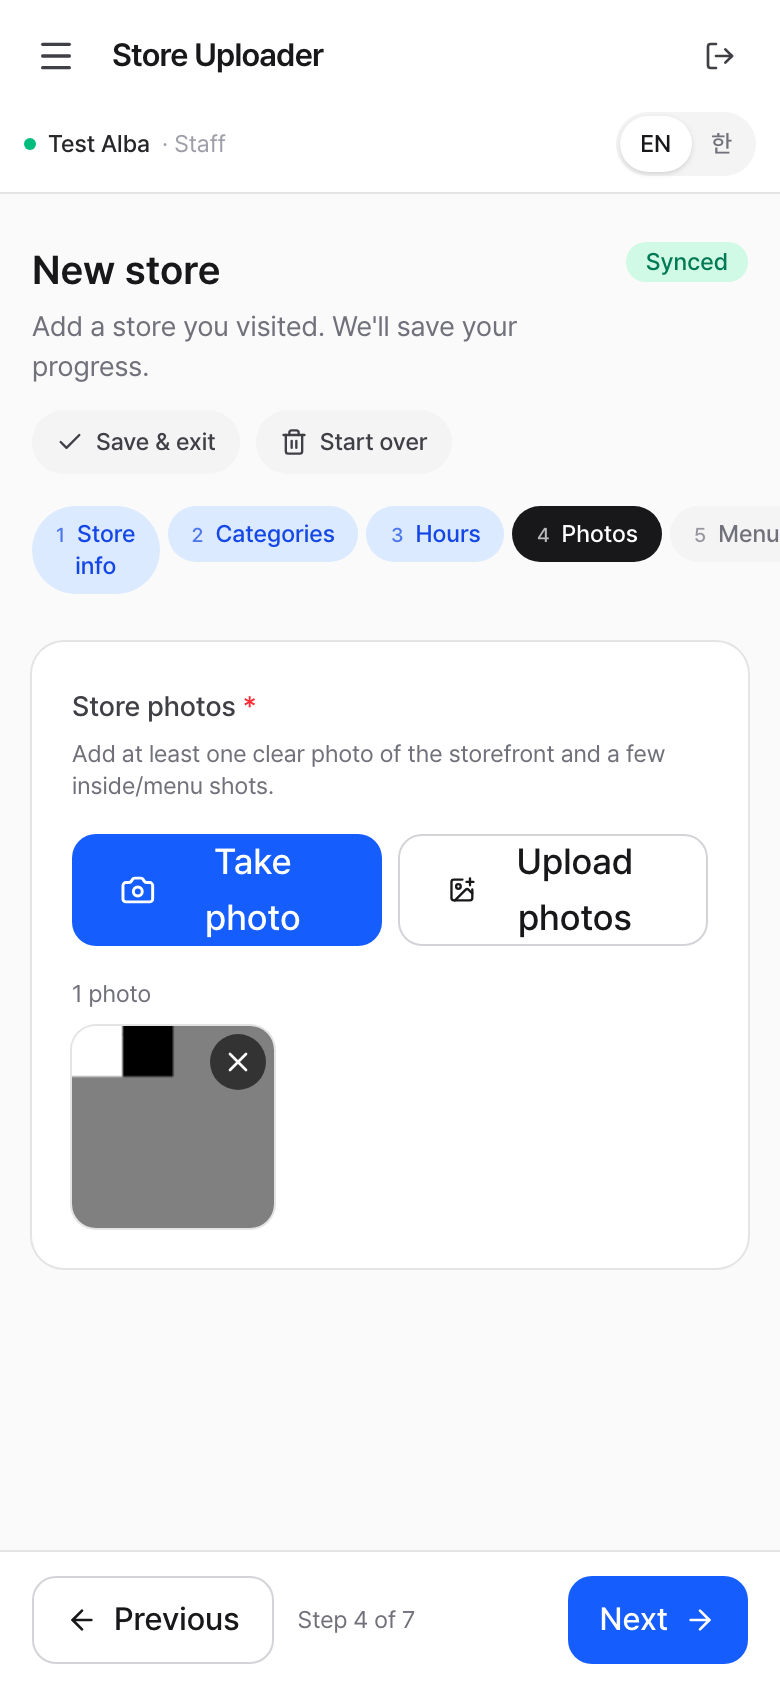
Photo tips
- Bright daylight photos work best
- Hold the phone steady; avoid heavy zoom
- Avoid photos with a lot of glare on the menu
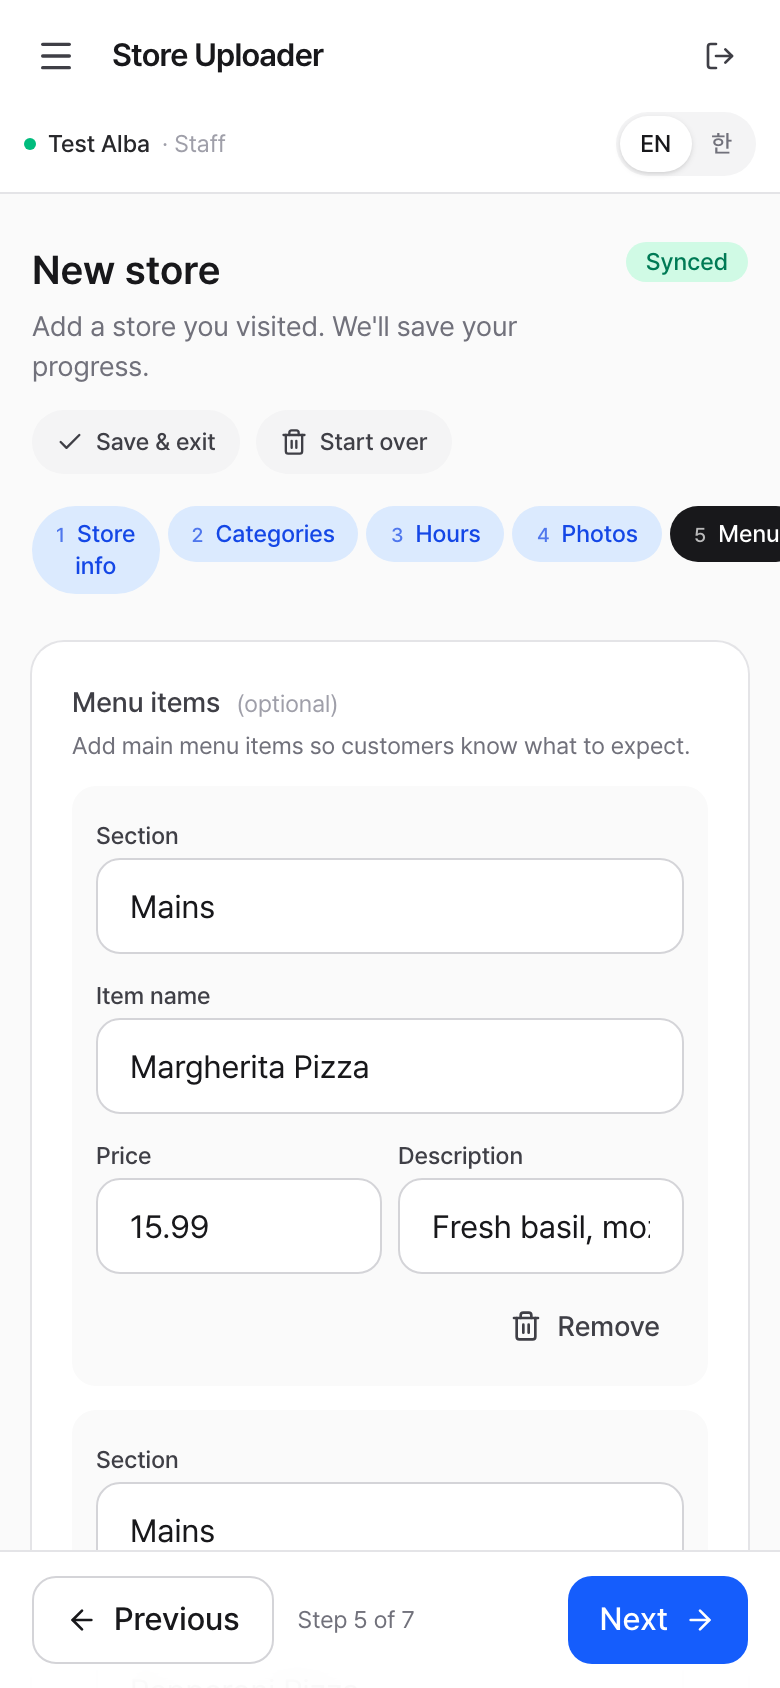
7. Step 5 — Menu (optional)
Add 3–5 popular items. Each row has:
- Section — group name like Mains, Drinks, Desserts
- Item name — required for the row to save
- Price — digits and a single decimal point only (e.g.,
12.99) - Description — optional one-liner
Use Add item for each row, the trash icon to remove. You don't need to enter the entire menu — admin can fill out details later.
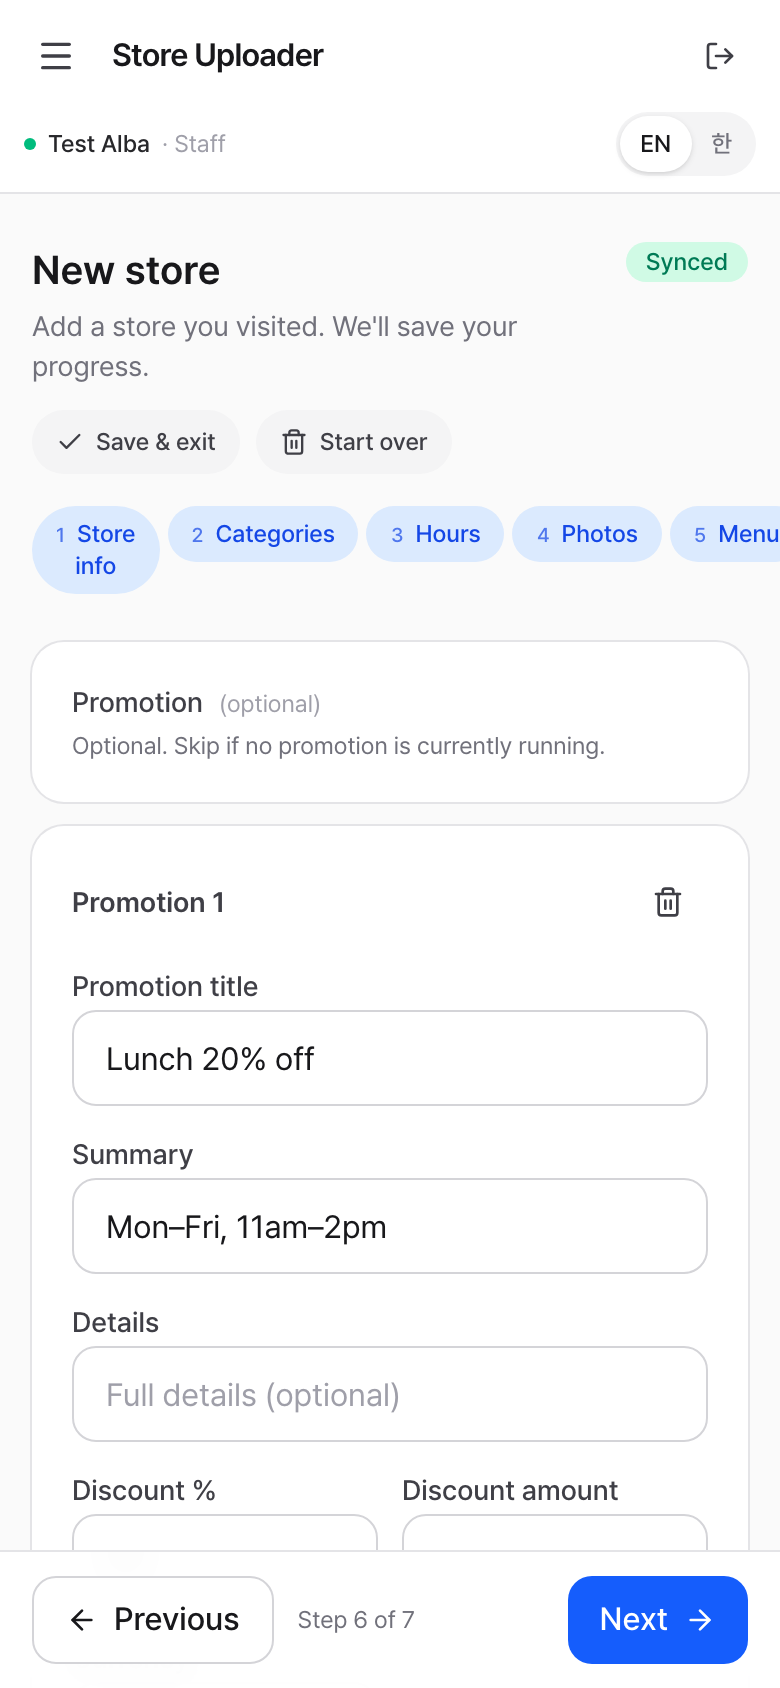
8. Step 6 — Promotion (optional)
Skip if there's no promotion running.
If there is one:
- Promotion title is what customers see (e.g., "Lunch 20% off")
- Add a percent OR an amount (you don't need both)
- Start / End dates if it has a clear window
For multiple ongoing promos, tap Add another promotion.
✨ Auto-fill from a poster photo
Spot a promo poster, flyer, or shelf-talker at the storefront? Upload it as the promotion image first — the app reads the poster with AI and fills in the title, discount %, dates, and other fields automatically.
How to use it:
- Tap Upload image on a promotion card.
- Pick the photo of the poster (clear shot, frontal angle).
- A blue "✨ Reading promotion details from the image…" note appears for a few seconds.
- The empty form fields (title, summary, %, dates, etc.) get filled in.
- Review and edit anything that looks wrong.
Rules:
- One photo = one promotion. If you spotted multiple posters, upload each to its own promotion card via "Add another promotion".
- Anything you've already typed is preserved — the AI only fills empty fields, never overwrites your input.
- Wrong reading? Just edit the field — your edit wins.
- The clearer the poster in the photo (front-on, no glare, large text), the better the auto-fill works.
9. Step 7 — Review & Submit
Scan every section. Each one has a small edit link to jump back. When everything looks right, tap the green Submit for review.
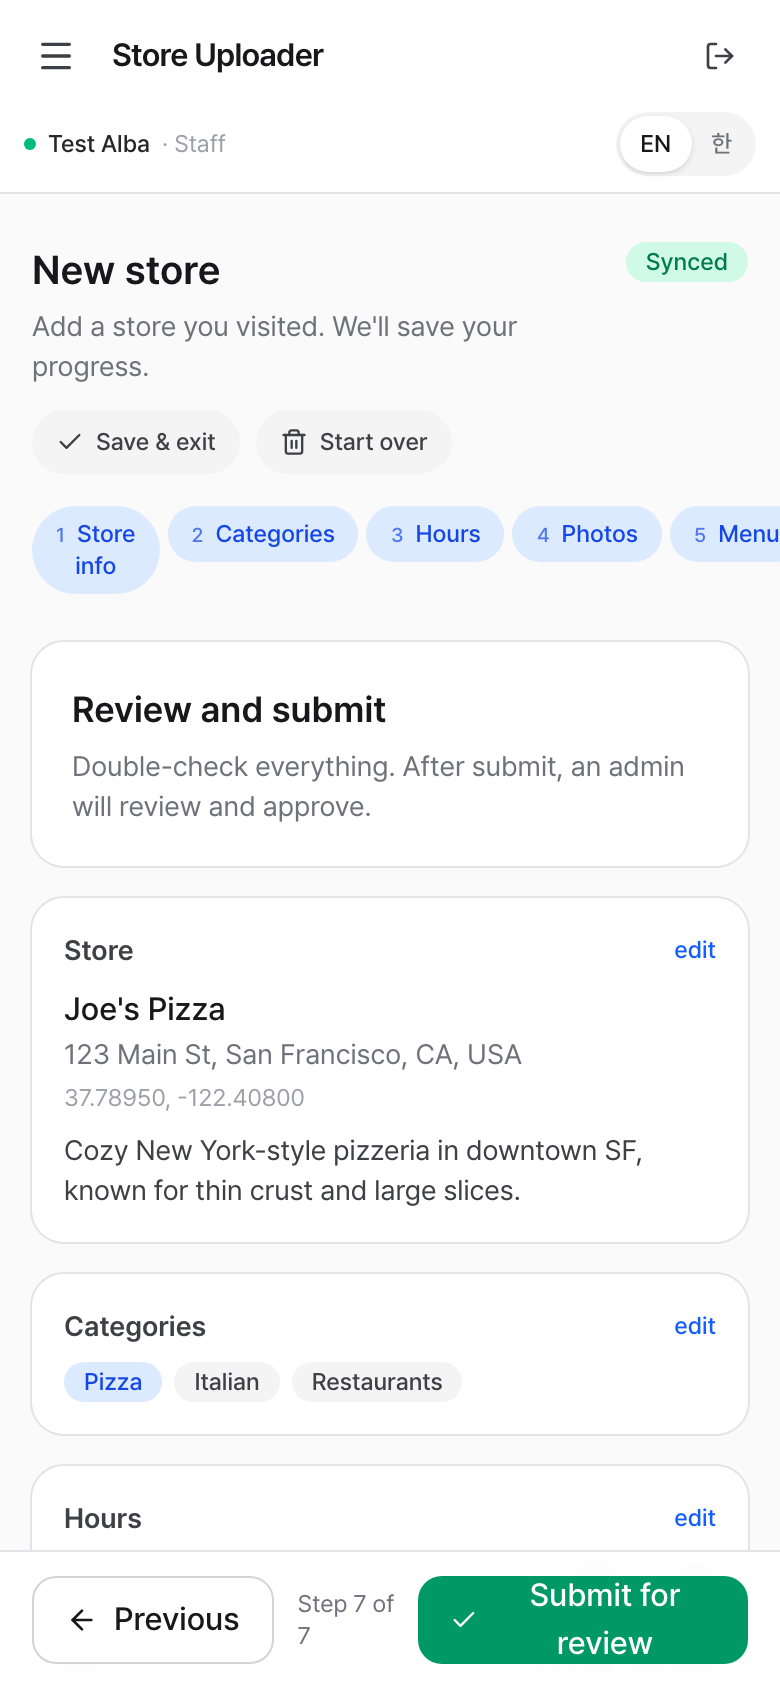
After submit, you're taken to My submissions and a confirmation message appears.
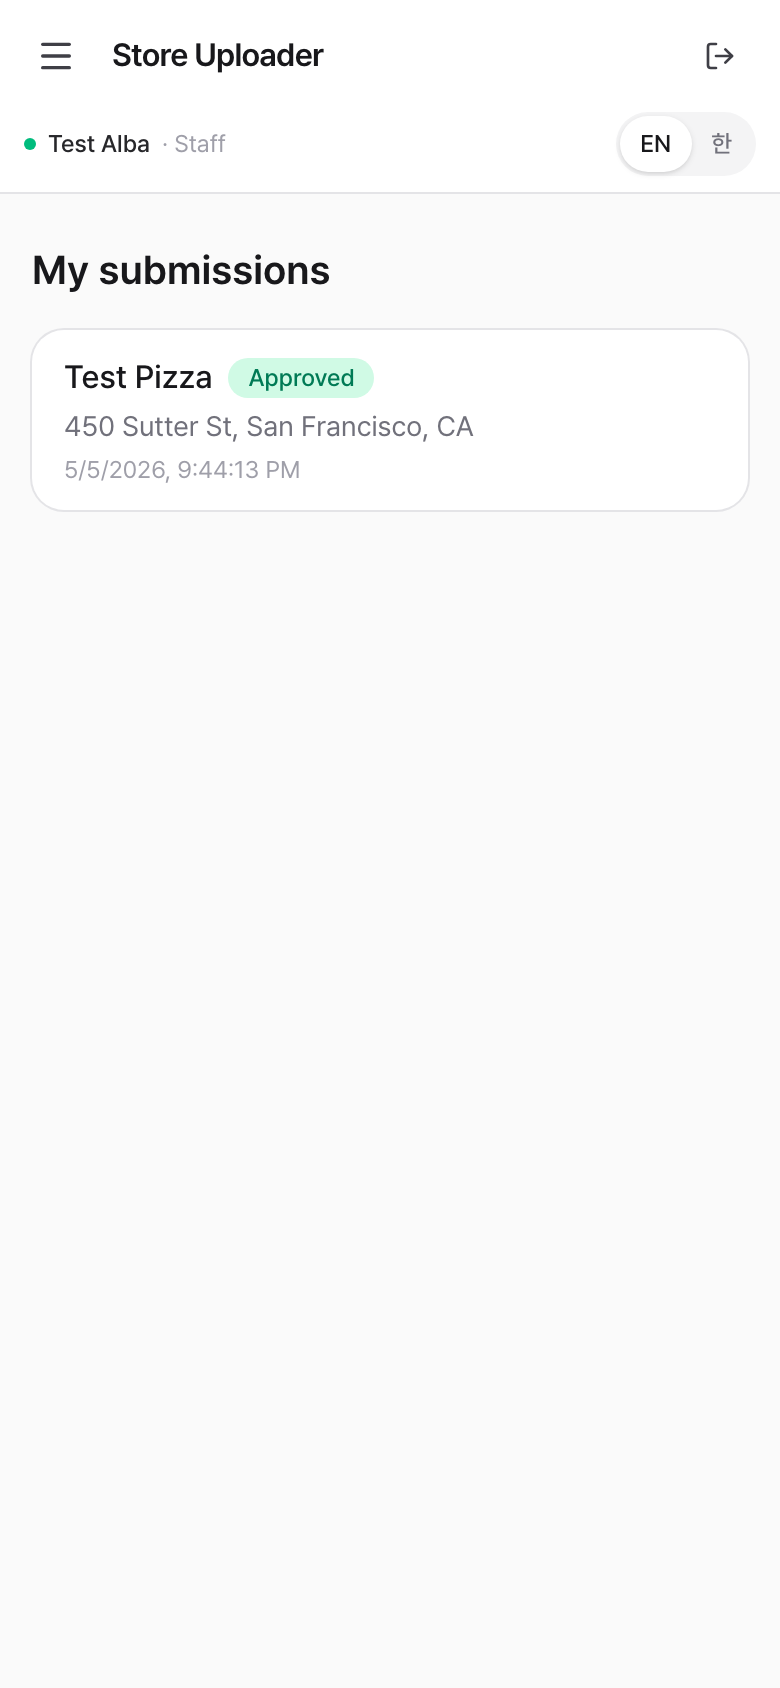
10. After Submission
Open My submissions any time:
- 🟡 Pending — admin hasn't reviewed yet
- 🟢 Approved — live in the customer database
- 🔴 Rejected — admin sent it back; tap the row to read the reject reason and fix it
11. Editing after submission
| Status | Can you edit? | What happens |
|---|---|---|
| Draft | yes | Continue from the Drafts page |
| Pending | yes | Tap the row → editing turns it back into a draft. Re-submit when done. |
| Rejected | yes | Tap the row → fix the issue → re-submit |
| Approved | no | Locked. Ask admin if you need a change. |
12. Save & exit / Start over
In any wizard step, the chips next to the title:
- 💾 Save & exit — your draft stays in the Drafts list. You can come back any time.
- 🗑 Start over — discards the current draft (text + photos) and starts fresh. There's a confirmation prompt; this can't be undone.
13. Working offline
The app works without a network connection if you've already loaded the page once during the visit.
- The header shows a red Offline pill when you're disconnected
- Text edits save locally and sync automatically when you reconnect
- Photo uploads need network — wait until you have signal, then add photos and they upload immediately
If you close the browser while offline, no problem — your draft is still saved on the device. Open the site again from the same phone and the work is there.
14. Switching language
The header has a small EN / 한 toggle. Your choice is remembered on this device.
15. Troubleshooting
| Problem | Fix |
|---|---|
| "Invalid email or password" | Check casing / spaces. Ask admin to reset. |
| Address lookup returns nothing | Try a more specific address (include city, state), or just tap the right spot on the map directly. |
| The pin is on the wrong building | Tap the correct spot on the map. The pin and address both update. |
| Camera doesn't open | Mobile only. On laptop the button picks files instead. |
| "사진 업로드는 네트워크 연결이 필요합니다" | You're offline; reconnect, then add photos. |
| The bar at the bottom of the screen disappears | Pull down to refresh the page. |
| AI didn't fill the promotion fields | The poster may be hard to read, or the field already had text. Edit manually. |
For anything else, message your admin with:
- The store name you were trying to add
- The step you were on
- A screenshot of the error if you see one